How to Gold Leaf, Amazing alluring ageless precious metal. My intent is to share the Basics of Gilding real Gold Leaf and Faux (fake) Brass Imitation Gold Leaf on Glass, Wood and Metals.
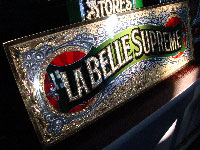
Chipped Reverse Glass Gilded with Gold Leaf
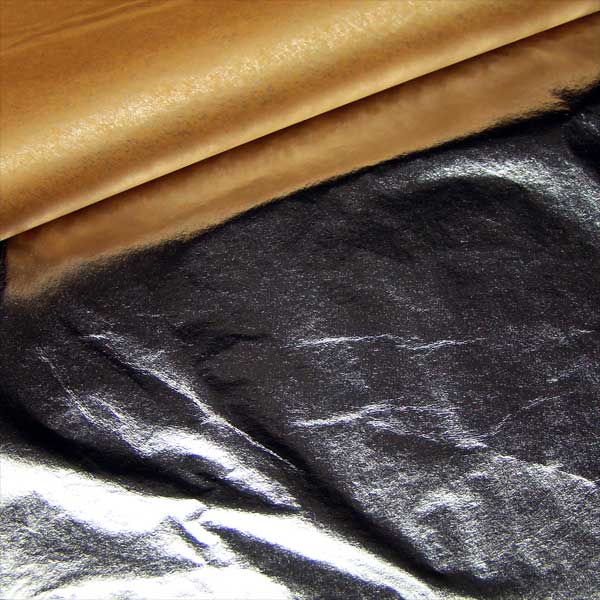
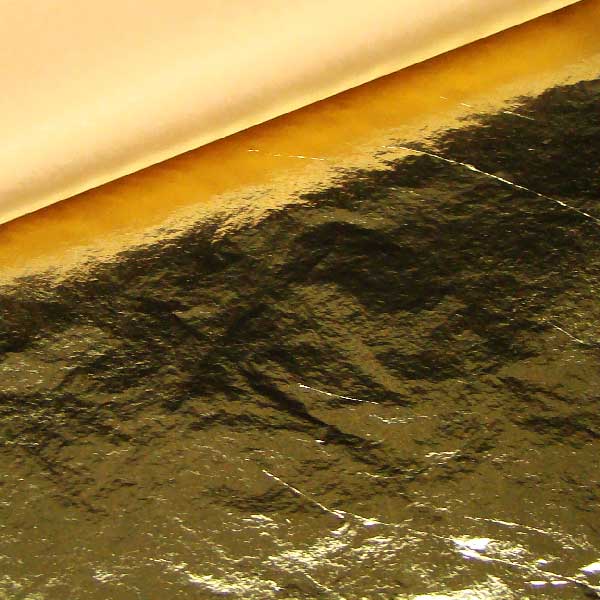
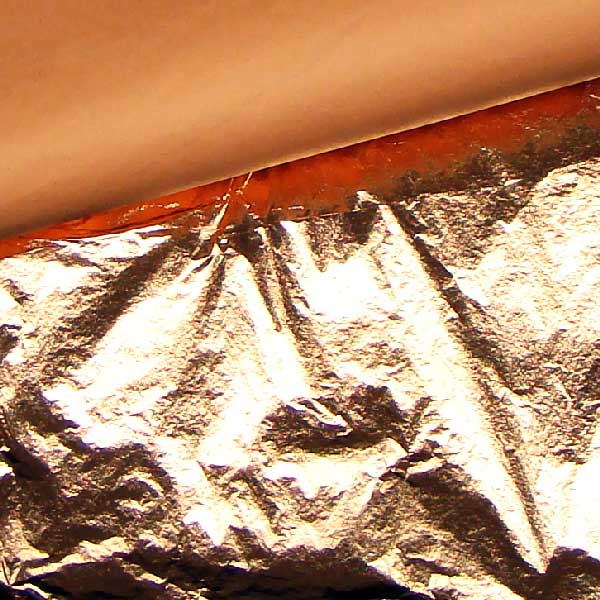
Faux (fake) Brass Imitation Gold Leaf shown Below
Gold Leaf Application How-To: Surface Gilding
Gold leaf application how to surface gild precious metals. Instructions, materials, tools and techniques. The discussion is based on the use of “Oil Based Gold Sizes“. Different brand of Sizes and your current temperatures may affect set-up and dry times.
Gold Leaf application Article by Ron Percell
We hope this is the beginning of a enriching journey into field that many hold atop the pinnacle of decoration and lettering. This article is designed concerning the basics of Surface Gilding using the Oil Size method. We hope to simplify these steps to help you gain the basic knowledge behind water gilding for hobby or business.
Basics: Many objects such as lettering, pinstriping, decorative designs & glass can be surface gilded.
Clean surface free of dirt grease and wax. Lightly dust surface to be gilded with “Shadow Kaolin” as a resist, and then lightly blow off any excess powder. If a pattern is needed, now place pattern and use the Shadow Kaolin to pounce your design to the surface.
Use brush of choice, then apply “Gilders Fast Gold Size” to area being Gilded. When Gilder’s gold size has dried but still has tack then the size is ready to gild with Gold Leaf. The leaf comes loose in the book, at this point you may use wax paper to pick up the loose leaf gently rubbing the wax paper and then place over the size. Once in place gently rub the backside of the wax paper down to assist in transferring gold. Repeat this process until all size is covered with leaf.
Now use your “Gilder’s Dusting Mop” to lightly pounce down gold and then begin dusting gold lightly until all flaps of gold that did not stick down are gone. While dusting gold, collect up excess gold (Skewing’s) for touch-ups and to prevent gold dust from getting all over items in the room. After dusting the gild, inspect it for any areas that are missing gold and patch any voids.
Then repeat the dusting technique until all flaps are gone. Now it is time to Burnish the gild with “Gilder’s Rolled Cotton” in order to help blend in the seams and to help hide any minor blemishes or imperfections.
Burnishing can be done many ways but it’s most important keep your “Gilder’s Rolled Cotton” clean while burnishing, check the cotton frequently for any gold build-up because even gold can mar/scratch itself. You may now either clear coat or leave unbolted.
Gold Leaf Surface preparation is important when gilding for success.
I prefer to gild on the cleanest surface possible, gold after applied highlights any imperfections. I prefer to also paint my surfaces or lettering with a coat of gold or mustard colored oil based gloss enamel such as “One Shot’s Sign Painters Enamel” or Japan Colors. This provides a clean dirt free undercoat, and if there’s a minor crack or hole in the gold, the undercoat will help hide the flaw, which can happen on hand laid gilds.
Shadow Kaolin as a Resist?
Shadow Kaolin is one of the finest powders available to use as a resist in keeping gold from sticking to the surface of a project. Our brand is Pharmacological-Cosmetic grade. Having to clean up undesired gold stuck in areas you don’t wish it to be can be a pain. “Shadow Kaolin” can be applied with the make-up pad or a rag by wiping surface area to apply a light dusting of powder or could be described as a light Frosting. After dusting I blow of any excess powder or debris with my mouth. When applying gold size to the surface over the Shadow Kaolin, it turns clear from the wet size and shows/indicates good coverage so as to avoid missing an area that you wish to have gold applied.
On projects when a pattern is needed, place pattern over powdered surface and use the “shadow kaolin” to pounce your design to the surface. The use of regular pounce powders can cause a ragged edge. Never place recently coated boards in the sun with pounce powders on the surface; paints have absorbed powders in the past while sitting in the sun.
Applying Gilders Fast Gold Size:
Gilders Fast Gold Size should be applied in a thin single coat. While Sizing a surface I always prepare a test panel of gold size to the side of my project on a similar piece of material that I can touch to check drying time of Gilders Fast Gold Size, so I don’t contaminate the sized project I’m working on. Gilders Fast Gold Size may be applied with brush, roller, and sprayed. Always read directions on the can of size, and where the proper OSHA approved masks. For those who get dust in their size and have tried eliminating all dust from their room and are still getting particles, you might try warming the size slightly and then use coffee filters to filter the size. In the case of possible fish eyes/separation areas, this can be caused from the size settling over time. Just slowly pour the size into clean can then pour back into the size can, this is enough mixing. You should never stir your size because it can introduce air bubbles which may never make it to the top of the size to escape, and could dry in the size as debris, causing problems on later gilds.
When is Gold size Ready?
The goal with size is to have it dry to the surface, but have a tack strong enough to attach leaf. A sizing that is still wet underneath can sag or tear later causing the gild to fail. After all if you put a metal lid over wet paint, it tends to slow or stop the drying process. When check the size, most use the knuckle test which involves bending your fore finger and touching your knuckle to the surface of the tester then lifting up to check for a popping sound. A perfect dry size feels as tacky as masking tape, but if the knuckle is dragged across the tester with a little pressure and the size slides off with a wet underside, the size will need to set up longer. If when dragging the knuckle across the tester and the size is tacky and rather rolls up tacky like rubber cement without any wet underside, your size is good. If the size is dry and no longer tacky, remove size with mineral spirits or turpentine, and re-size. It’s good to size out of the sun when possible.
Applying Gold:
Gold comes in loose form and patent. Loose comes as it sounds loose in a book containing 25 sheets, and Patent is gold that’s been attached to Tissue or Rice paper. I prefer to use loose leave on all projects because patent leaf can occasionally leave bits of rice paper in the size. If I need patent leaf I simple cut pieces of wax paper about ½” larger than the leaf, then open the book on a flat surface and gently lave the wax paper over the gold then apply a slight bit of pressure and this helps the gold to stick to the wax paper, then I transfer the gold to the surface, then rub down and transfer the leaf. Repeat this process until all size is covered with leaf
Removing Excess Gold:
Now use your “Gilder’s Dusting Mop” to lightly pounce down gold and then begin dusting gold lightly until all flaps of gold that did not stick down are gone. While dusting gold, collect up excess gold (Skewing’s) for touch-ups and to prevent gold dust from getting all over items in the room. After dusting the gild, inspect it for any areas that are missing gold and patch any voids. Then repeat the dusting technique until all flaps are gone.
Burnish the Gild:
Burnish the gild with “Gilder’s Rolled Cotton” in order to help blend in the seams and to help hide any minor blemishes or imperfections. Burnishing can be done many ways but it’s most important keep your cotton clean while burnishing, check the cotton frequently for any gold build-up because even gold can mar/scratch itself.
You can Burnish for special effect which can also hide minor imperfections such as engine turning in which a tool is used to spin a tooled pattern across the gild or by burnishing in straight lines for a brush surface look, yet with advanced techniques you can even burnish prismatic effect within the gild
Clear coat or Not to Clear coat?
Gold, Silver, Aluminum, & Copper leaf are all made from metals that can tarnish over time from being touched or contaminated with oils. Typically if a Gild can be touched (if attached 8′ or below) we Clear Coat the project with 2-3 coats of clear for protection. If a gild is in a position 8′ or above and won’t be touched don’t clear coat. A gild will last longest if it isn’t clear coated. We use Traditional Bulletin Spar Varnish on Boats & Windows (3-4 Re-coats every 3-5 years), Window Spar Varnish for Windows, while others are reporting good results using it on vehicles and exterior gilds in Arizona, not we designed it for but they like it’s durability and Quick dry time. Long term Outdoor I use 3 coats of straight (no thinning) Frog Juice Urethane Clear Coat for most exterior Gold leaf applications, in some cases you should add One Shot Hardener to extend the life and add Chemical Resistance for projects such as vehicles that receive a final clear coat over the top of your work or to protect from Gasoline eating your work off. Automotive Clear Coats are also excellent but you should be careful due to the automotive clears being what we call “HOT”, meaning that you should build up very light coats, waiting in between for the light coats of clear to “FLASH-OFF” (set-up and dry) then repeat 3-4 times with the final coat of clear going down heavier to look deep and wet for a high gloss.
I myself am currently using a product know as frog juice straight from the can applying with brush without thinning. After gilding project is completed I wait 24 hrs before clear coating to allowing the size to close or dry completely then I apply 1 coat early in the day and a second coated late in the day being careful not to over stroke an area that might soften the coat applied earlier that day. Now many believe this to be enough but I choose to apply a third coat on the next day to get a good deep gloss, the surface when dry shouldn’t have any dry spots.
If I were rushed, I use clear coat in a spray can, and give a 2-3 light coats allowing the clear to flash dry before adding additional coats. Once the surface has had a few light coated I can spray one final coat that’s heavier and gives met a wet look, being careful not to apply too much clear that could run or sag.
Now have a little patients, and you’ll be gilding all the time with practice. Also don’t be critical of your first gilds because you often see the project unfold as when others see the project finished and look at you like a magician, asking how you did that.
The best tip I can offer in promoting gold leaf to customers is to make small sample panels every time you gild and soon someone will be asking you to Gild for them too!
Don’t forget to check out letterhead sign supplies how to video section at How-to Videos.
-
- Gilders Soap use How-to Video
- Mixing Water Size for Reverse Gilding How-to Video
- Gilders Dusting mop How-to Video
- Gilders Rolled Cotton How-to Video
- Gilders Surplus Removal Brush How-to Video
- Gilders Tips, getting gold leaf transferred and the proper way to Charge a Gilders Tip
- Gold Leaf Transfer of Loose leaf onto Oil Based Gold size for Surface Gilding How-to Video
- About the Author Ron Percell
gilders specialty products supplies materials paints how to
gildersproducts supplies materials paints how to
Distributors of goldleaf, gold leaf, gilding leaf, rolled gold leaf, ribbon gold leaf products
Letterhead Sign Supply-advanced gold leaf materials to the gilding world. Unique gold leaf supplier initially marketed towards the Sign Industry, now serving some of the best Gold Leaf Gilding Products around the world to restoration artist, glass gilders, wood workers, fine artist, glaziers, pinstripers and sign painters. Loaded with goldleaf video how-to’s and instructions.
website: https://letterheadsignsupply.com/
Gold Leaf Products-gold leaf products for gold leaf artists. gold leaf gilding products for gilders paints and brushes
Manufacture of Gold Leaf Varnishes and Gold leaf Adhesives Oil and Water Sizes
Gilders Specialty Products-old world gold leaf varnish clear coat materials to the gold leaf world. Unique gold leaf varnishes for commercial gold leaf Industry and restoration arts, great Gilding Products known around the world, designed by Professionals for the best results and endurance
website: https://gildersspecialtyproducts.com/
Gilders Products for Glass Gilding instruction how to’s
How to Gild Glass Article – on glass gilding authored by Ron Percell.
How to Gild Glass Videos – on glass gilding techniques.
Water Size for a “Mirror” Gild – gelatin and water for a mirror finish
Oil Size for a “Matt-Satan” Gild – for warm glowing gold gilded glass
Gilders Products for advanced Glass Gilding styles
Glue Chipped Gilded Glass – have you tried glue chipping?
Gilders Colored Transparent Inks – Stained Glass effects & Ron Percell’s Eye Candy Gilding technique
Embossed glass gilding – simulate Acid embossing.
Gilders Products for brushes for Glass Gilding
Gold leaf Gilders Tips – brushes for applying gold leaf and silver leaf
Gold leaf dusting mops – for dust excess gold.
gold leaf burnishing pens – for blending gold leaf on glass.
Gilders Products for Galleries
Gold Leaf Glass Gilders – old and new photo of real glass gilding
Gold Leaf Colored Transparent Inks -author: Ron Percell’s Eye Candy Gilding technique
Gold Leaf Embossed glass gilding – faux embossing.
Gilders Products for Glass Gilding Materials
Gold Leaf Brushes- Gold Leaf gilders tip, gold leaf removal brush.
Gold leaf for Glass Gilding – master list-gold leaf
Silver leaf for Glass Gilding – a master list of silver leaf for glass gilders.
Gold Leaf Glass Cleaning – make sure your glass is clean
Gold Leaf Rolled Cotton – for Glass Cleaning and Burnishing
Gold Leaf paints – back up enamel to adhere Gold Leaf to glass
Gold Leaf Varnishes – window spar varnish for gold leaf, Gold Leaf clear coats, Damar embossing varnish
Gilders Products for Gilding Tools
Gold Leaf on Glass Gilding Brushes-tip, surplus removal brush.
Gold leaf types for Glass Gilding – a master list of gold leaf for glass gilders.
Blending Faded Gold Leaf – gilders fade or blend one color of leaf through another color.
Gilders Products for Lettering
Gold Leaf lettered objects – pictures of lettering types
Lettering Gold Leaf Set up and Layout – gold leaf designs, Gold Leaf patterns and Gold Leaf lettering